
How does a tub to shower conversion work on a concrete slab?
Most Central Florida homes are built slab-on-grade, so the tub drain sits in a small pocket left in the concrete at one end of the tub. A shower needs its drain somewhere else: in the center of the floor for a traditional sloped pan, or along one wall for a linear drain. Converting means cutting the slab, rerouting the drain at the right slope, getting the rough plumbing inspected, and filling the pocket and trench with new concrete.
The valve usually moves too. A tub valve sits low; a shower valve sits higher, and many people want the controls near the entry so they can turn the water on without getting soaked. We do that work under our own plumbing license.
Most conversions fit inside the old tub footprint, about 5 feet wide and 30 to 32 inches deep. Widening into the room is often possible when a vanity or closet wall can move. Our shower demolition cost guide explains what tear-out involves.
Curbless or low curb: which entry is right for your bathroom?
A curbless shower has no step: the bathroom floor runs straight into the shower, and the shower floor slopes down to the drain. It makes a small bathroom feel larger and suits anyone planning to age in place or use a walker or wheelchair later. To keep water inside, the shower floor has to sit lower than the bathroom floor, which on a slab can mean recessing the concrete inside the shower area.
A low curb, a few inches high, holds water back with far less slab work and still gives an easy step in. It is often the practical answer in a conversion. We check the slab, the existing floor height and the room layout on the first visit and tell you honestly which entry the house allows.
Want a licensed contractor to look at your walk-in shower?
Linear drain or center drain?
A center drain is the traditional choice. The floor slopes toward it from all four sides, which works best with smaller tiles, often mosaics of 2 inches or so, that follow the slope and give good grip underfoot. It is the familiar, simpler option to build.
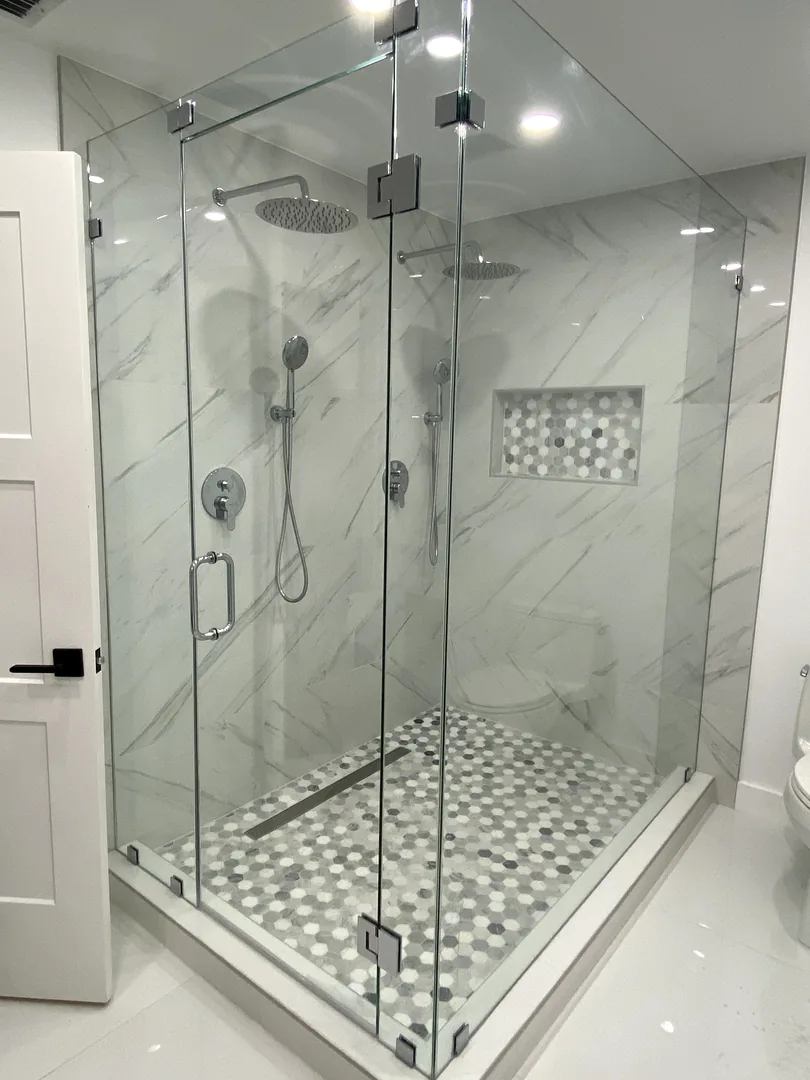
A linear drain is a long, narrow channel placed along the back wall or at the entry. The floor slopes in one direction only, so you can carry large-format tile into the shower without awkward cuts, and it pairs naturally with a curbless entry. The drain body has to be set at exactly the right height and tied into the waterproofing.
Waterproofing: the part of a walk-in shower you never see
Tile and grout let water through, and a doorless walk-in puts more water on the floor than a tub ever did. We use either a bonded waterproofing membrane over backer board and the mortar bed, lapped at every seam, or a traditional pre-sloped mortar base with a pan liner. The floor slopes to the drain about a quarter inch per foot with no flat spots. Every pan is flood tested before tile, and inspected where the building department requires it. More on our full approach is on our bathroom remodeling page.
Shower glass: frameless door, fixed panel or no glass at all?
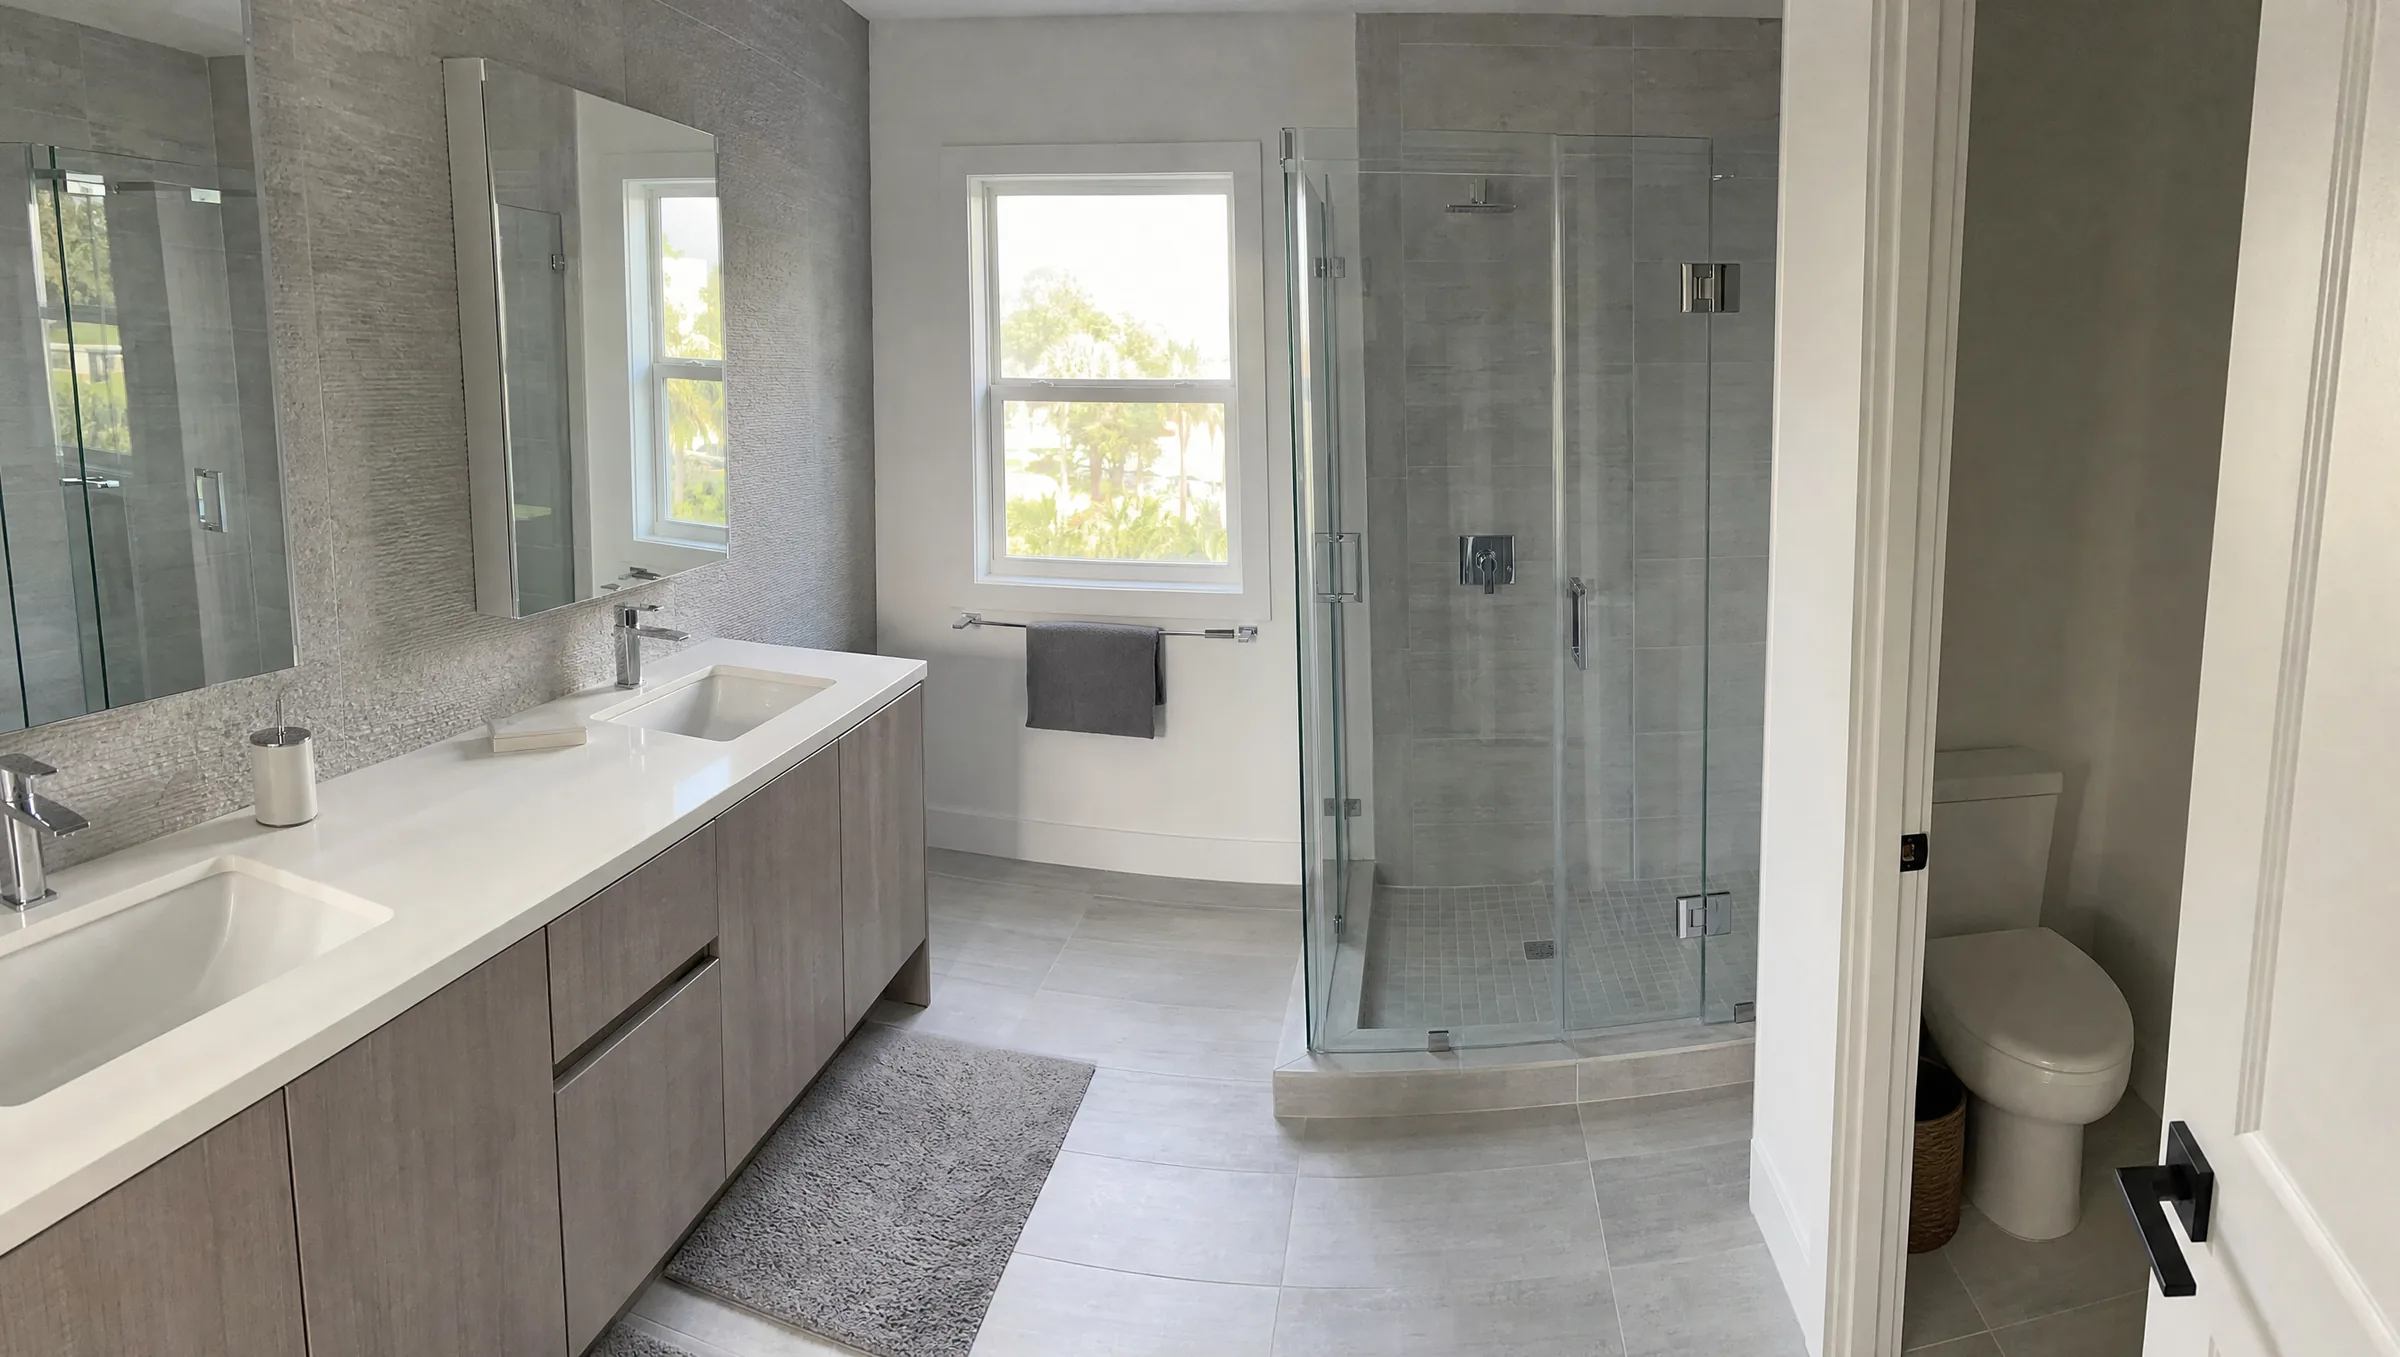
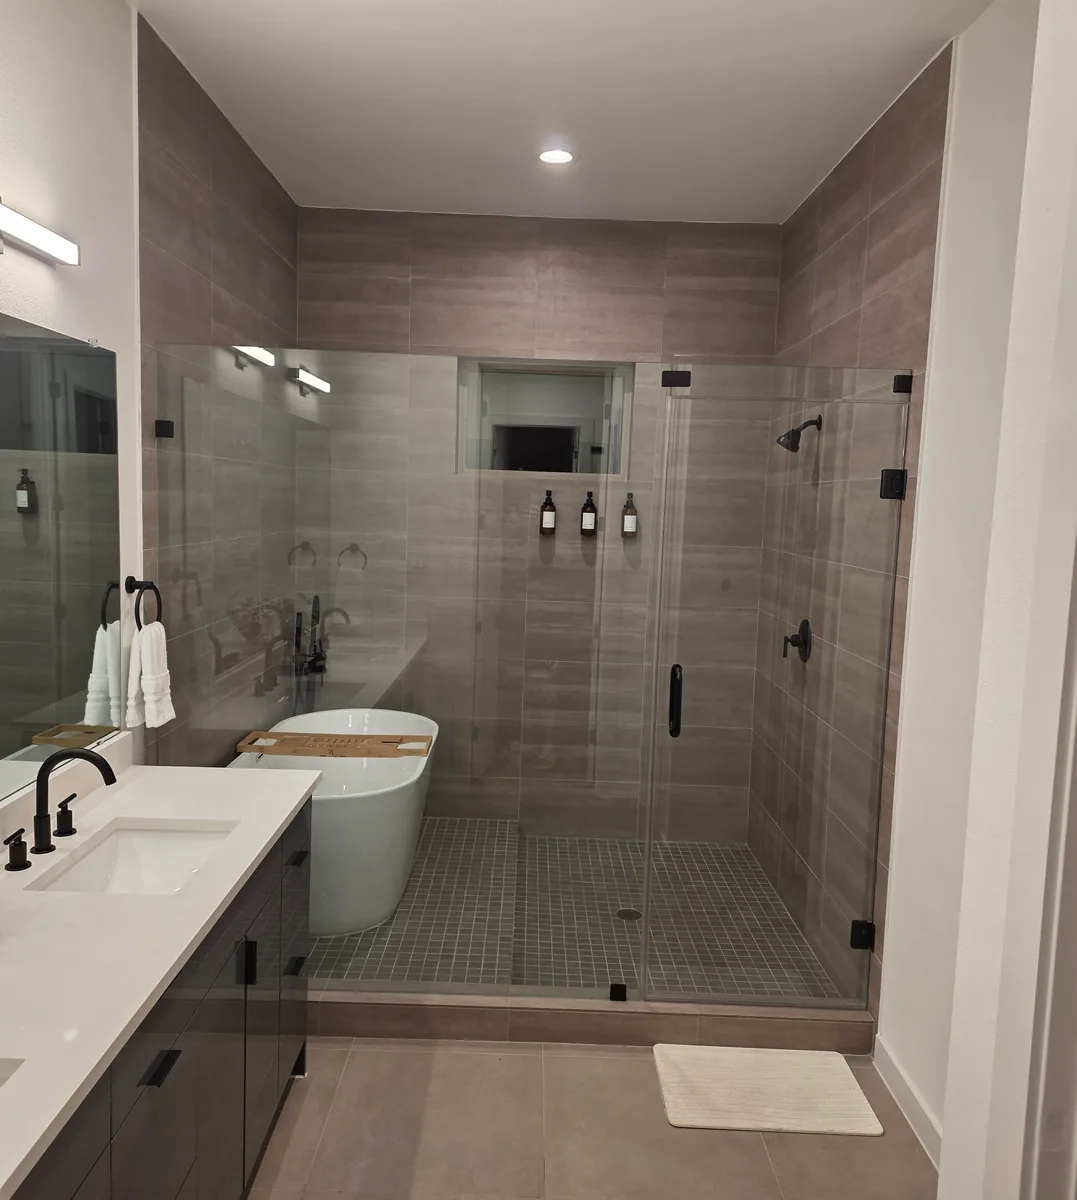
A frameless door uses thick tempered glass with minimal hardware, which keeps the shower open and easy to clean. A fixed panel, sometimes called a walk-in screen, has no door at all: one panel blocks the spray and you walk around the end. It works well when the shower is at least about 5 feet long, so the spray does not reach the opening.
Showers with no glass need even more room. Glass is always measured after the tile is finished, because it has to fit the exact walls and curb, so it is usually installed 1 to 2 weeks after tile. Low-iron glass removes the green tint at the edges, and a protective coating makes water spots easier to wipe away.
Want a licensed contractor to look at your walk-in shower?
Niches, benches, rain heads and valve placement
These are the details that make a shower comfortable every day, and almost all of them have to be decided before the walls are closed. The 3D design shows the niche height, bench size and valve location before any framing starts.
Niches
A recessed niche belongs on an interior wood-frame wall where possible; exterior walls in Central Florida are concrete block and harder to recess. We place it out of the direct spray, at a height you can reach, and size it to line up with tile joints. Every niche is waterproofed as part of the shower.
Benches
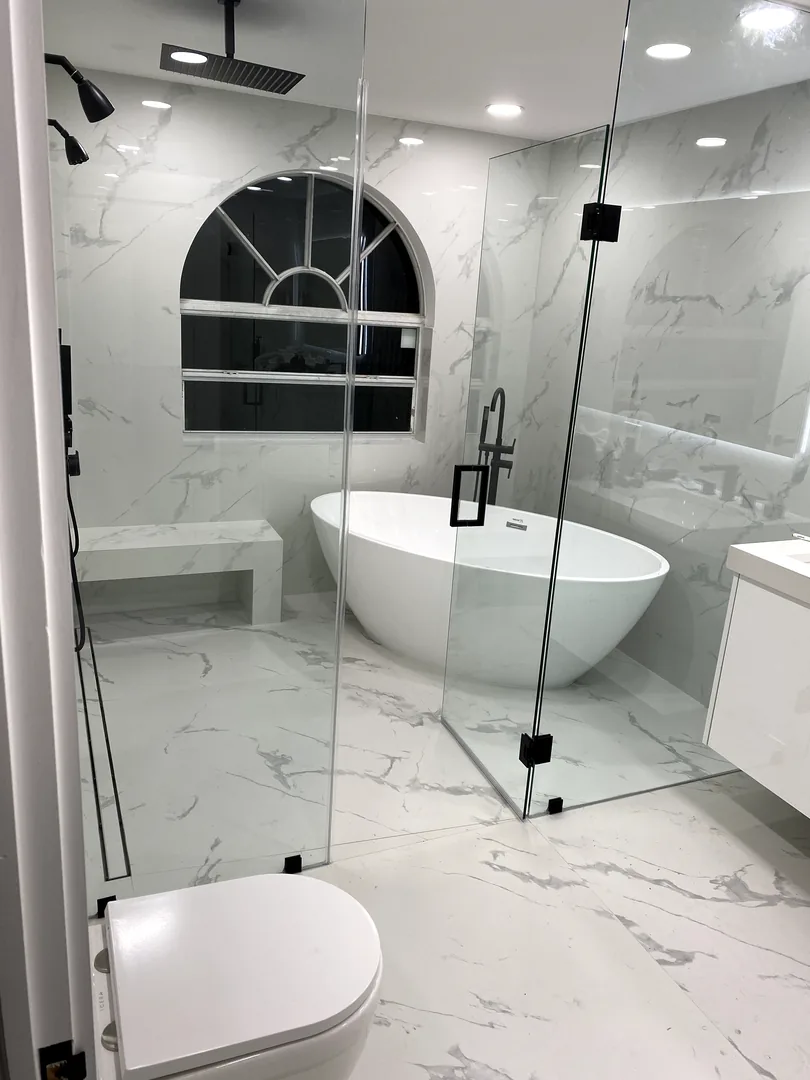
A built-in bench gives you a place to sit or shave legs and is useful for aging in place. It can be a solid block-and-mortar seat or a floating bench supported by the framing, and either way it is waterproofed with the shower. Our built-in shower bench guide compares the options.
Rain heads and valve placement
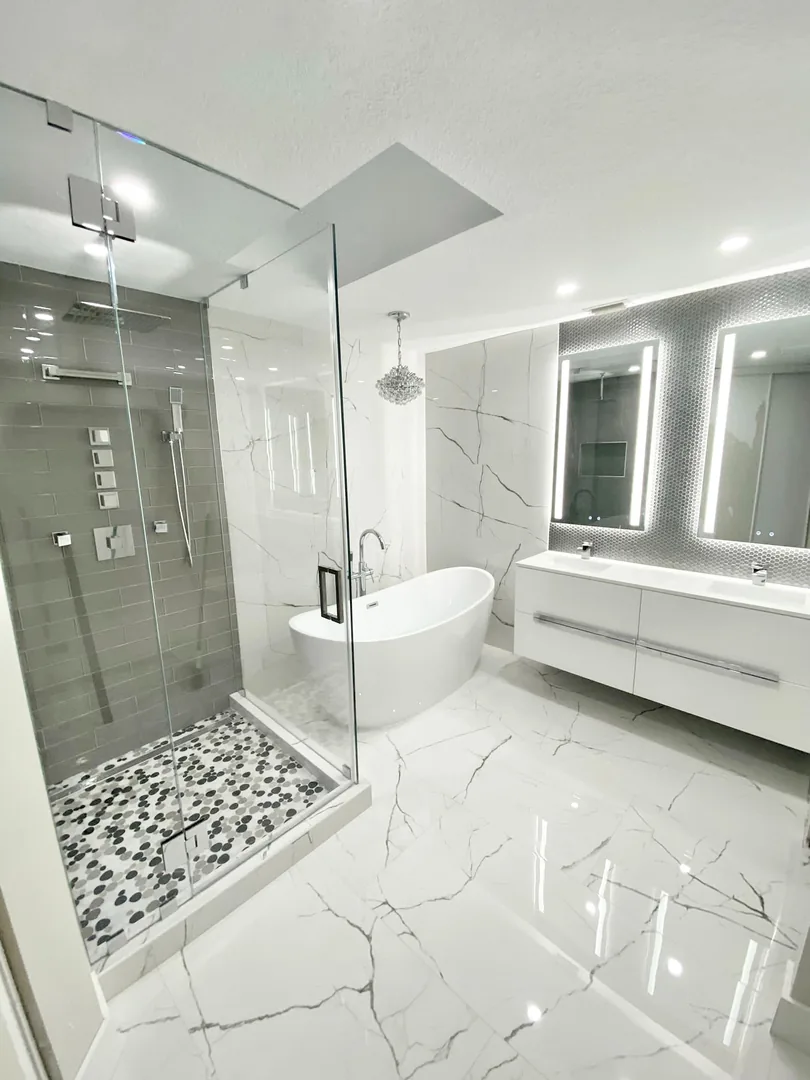
A ceiling-mounted rain head feels great but drenches you if the valve is right under it. We often place the controls near the entry, add a handheld on a slide bar for rinsing and cleaning. See our notes on a rain shower in a small bathroom.
Making a walk-in shower safe
A walk-in shower already removes the high step over a tub wall. Choose floor tile with good slip resistance when wet, and ask for wood blocking in the walls so grab bars can be installed securely now or later. A pressure-balancing or thermostatic valve limits sudden temperature swings when someone flushes a toilet, and a handheld shower lets you shower seated. A light rated for wet locations over the shower means no dark corners. All of it is easy to plan and hard to add after tile.
Typical timeline
Every project gets its own schedule in writing before work starts. These are the ranges most walk-in shower projects fall into.
| Phase | Typical duration | What happens |
|---|---|---|
| Home visit and measurement | 1 visit | We measure the tub or shower area, check the slab, drain and valve, and talk through entry, glass and bench options. |
| 3D design and selections | 1 to 2 weeks | We model the shower in 3D, then you choose tile, fixtures and glass style with our designer in the showroom. |
| Ordering and permit | Typically 2 to 4 weeks | Tile, valves and fixtures are ordered and checked; the plumbing permit is applied for in parallel. |
| Demolition and plumbing | Typically 2 to 5 days | Tub and tile removed, slab cut, drain and valve relocated, and the rough plumbing inspected before the slab is patched. |
| Waterproofing and tile | Typically 1 to 2 weeks | Membrane or pan installed and flood tested, then wall and floor tile, niche and bench set and grouted. |
| Glass and walk-through | About 1 to 2 weeks | Glass is measured after tile, fabricated and installed. Final inspection where required, then a walk-through with you. |