
Kitchen
Backsplash Installation: Step-by-Step Tile Guide
Backsplash installation step by step: tools, wall prep, layout, ledger board, thinset, spacers, cutting, grout, caulk, sealing and real cure times.
By the Prime Construction team Updated October 13, 2026 6 min read
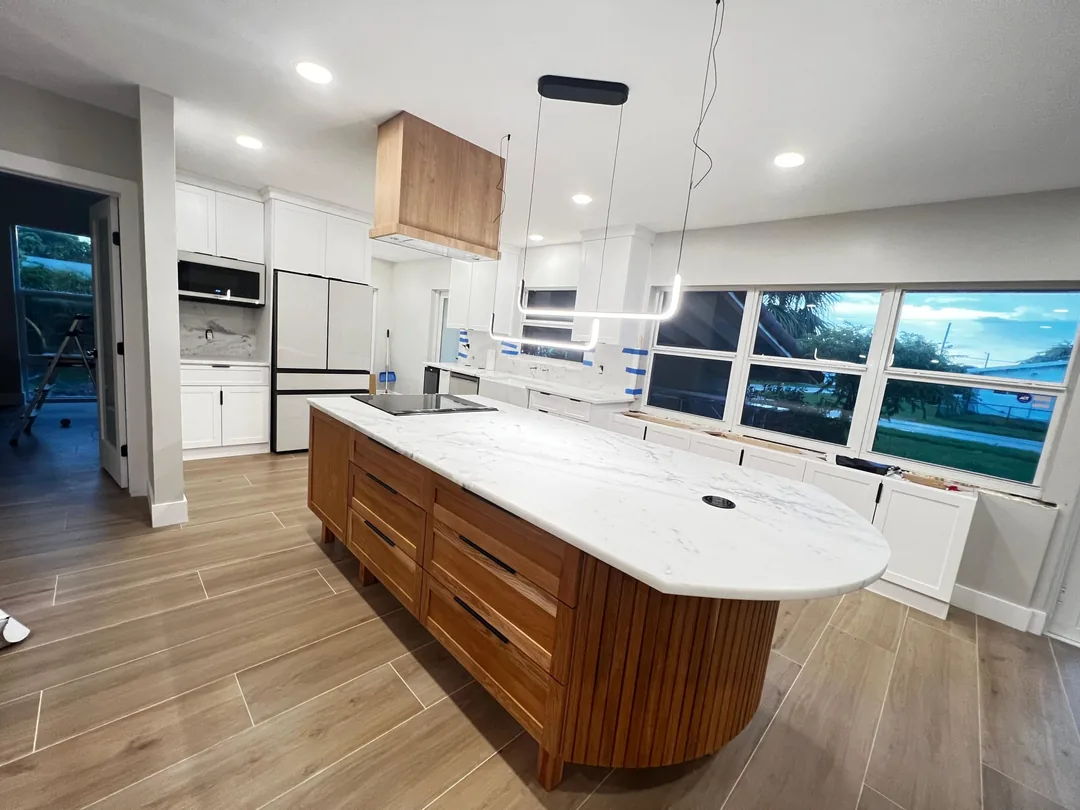
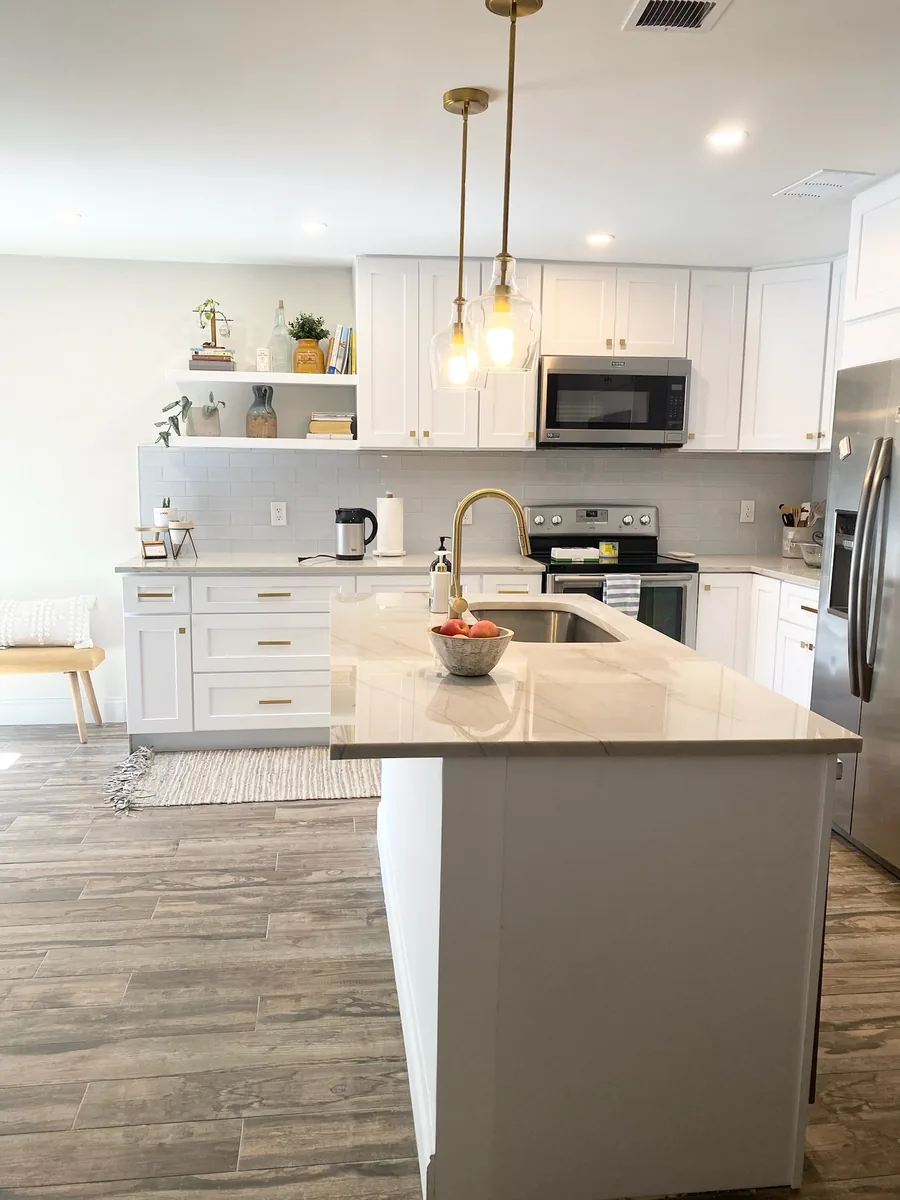
Backsplash installation comes down to five stages: prepare the wall, plan the layout, set the tile with the right adhesive, grout, then caulk and seal. Most kitchen backsplashes take two to three days start to finish because the adhesive and grout need cure time between steps. Below is the full process we follow, with the tools, measurements and waiting times that make the difference between a backsplash that lasts and one that cracks or pops loose.
Tools and materials
Tools
- 4 ft level and a short torpedo level
- Tape measure, pencil, straightedge
- Notched trowel sized for the tile (see the table below) and a margin trowel
- Mixing bucket and a drill with a mixing paddle (for powdered thinset)
- Tile spacers or wedges
- Wet saw or manual tile cutter, tile nippers
- Rubber grout float, grout sponges, two buckets, a soft cloth
- Utility knife, caulk gun
- Non-contact voltage tester, screwdriver
- Safety glasses, gloves, hearing protection for power cutting
Materials
- Tile, plus about 10 percent extra (15 to 20 percent for herringbone or patterns)
- Adhesive rated for your tile: polymer-modified thinset for most tile and required for glass, natural stone and large tile. Premixed mastic only for small ceramic or porcelain on a dry wall when the label allows it.
- Grout: unsanded for joints under 1/8 inch, sanded for 1/8 inch and wider, or a premixed or epoxy grout
- Color-matched caulk
- Grout sealer if using cement grout
- Box extenders and longer outlet screws
- Painter’s tape, drop cloths, cardboard to protect the countertop
Step 1: Prepare the wall
- Shut off power to every outlet and switch on the backsplash wall at the breaker. Test each box with a non-contact tester, then remove the cover plates and loosen the outlets.
- Protect the countertop and cabinets with cardboard and tape.
- Remove the old backsplash if there is one, and repair torn or damaged drywall.
- Clean and degrease the wall, especially behind the range. Rinse and let it dry.
- Scuff glossy paint with 100 to 120 grit sandpaper until dull, then wipe off the dust.
- Patch and flatten. Fill holes, knock down texture high spots, and check with a straightedge.
Painted drywall is an accepted backing for a dry kitchen backsplash if the paint is well bonded. Our guide to tiling on painted drywall covers how to test it.
Step 2: Plan the layout and dry-fit
Find the centerline. Mark the center of the sink or range, the focal point of the wall. Lay a row of tile on the countertop from that line, with spacers, to see where the end cuts fall. If an end piece is less than about half a tile wide, shift the layout half a tile so both ends get larger pieces.
Check the countertop for level. Set your 4 ft level on the countertop. Counters are rarely perfectly level, and if you stack tile off an unlevel counter, the error grows with every row.
- If the counter is level, start the first row on the counter with 1/8 inch spacers or shims underneath for a caulk gap.
- If it is off, find the low point, draw a level line one tile height above it, and use a ledger board or shims to set the first full row on that line. Cut the bottom row to fit later.
Plan around outlets, windows and cabinet ends so you do not end up with slivers. Moving the layout an inch is easier before the tile goes up.
Step 3: Set a ledger board where needed
Behind a range or on any wall with no countertop under the tile, screw a straight 1x2 or 1x3 ledger board to the wall along your level line, into studs where possible. The first row sits on the ledger. After the adhesive cures, remove the ledger and fill in the bottom row with cut pieces.
Step 4: Mix and apply the adhesive
Powdered thinset: mix with clean water to the consistency on the bag (usually like smooth peanut butter), let it slake for the time listed, then remix. Mix only what you can use within its pot life.
Spreading: key a thin layer into the wall with the flat side of the trowel, then comb with the notched side in one direction. Spread only a few square feet at a time so the mortar does not skin over.
| Tile | Common trowel notch |
|---|---|
| Small mosaics (on mesh) | 3/16 in. V-notch |
| Subway and tile up to about 6 in. | 1/4 x 1/4 in. square notch |
| Larger tile | 1/4 x 3/8 in. square notch or larger, plus back-buttering |
These are common starting points. The tile and mortar manufacturers’ instructions win when they differ.
Step 5: Set the tile
- Press each tile into the mortar with a slight twist, then use spacers to hold the joint width.
- Check level every few rows and keep checking the joints with a straightedge.
- Pull a tile now and then and look at the back. You want close to full coverage on a wall; ridges that did not collapse mean the mortar skinned or the trowel is too small.
- Wipe mortar out of the joints and off the tile face as you go.
- Glass tile has its own rules (white thinset, no mastic, no visible ridges). See our glass tile backsplash guide.
Step 6: Cut tile accurately
- Straight cuts: a manual snap cutter for ceramic and porcelain; a wet saw for stone, glass, thick tile and L-shaped cuts.
- Notches and holes: wet saw or an angle grinder with a diamond blade; finish with nippers.
- Outlets: cut the opening just larger than the box and inside the cover plate footprint. After tiling, install box extenders so the box edge is flush with the tile face. Our guide to tiling around outlets covers the code limits and extender steps.
- Measure twice. Mark the tile in place rather than measuring and transferring when you can.
Step 7: Let it cure, then grout
Let the adhesive cure before grouting, typically about 24 hours for thinset. Mastic and glass may need longer.
- Remove spacers and clean any mortar left in the joints.
- Mix the grout to the directions and let it slake.
- Pack grout into the joints with a rubber float held at about 45 degrees, working diagonally across the tile.
- Scrape off the excess with the float edge.
- After the grout firms slightly (usually 15 to 30 minutes, check the bag), wipe with a damp, well-wrung sponge in a circular motion, then a final light pass parallel to the joints. Rinse the sponge often.
- Buff off the remaining haze with a soft, dry cloth once it appears.
Leave the countertop joint, inside corners and edges against cabinets empty of grout.
Step 8: Caulk, seal and finish
- Caulk the countertop joint, inside corners and cabinet edges with color-matched caulk after the grout has set.
- Seal cement grout once it has cured, often 48 to 72 hours, as the grout maker directs. Natural stone tile needs sealing too, sometimes before grouting as well. Epoxy and many premixed grouts do not need sealer.
- Reinstall outlets through box extenders with longer screws, add spacers behind the mounting ears if needed, and replace the cover plates.
- Restore power and test each outlet, including the GFCI test and reset buttons.
- Go easy for a few days. Cement grout keeps gaining strength for weeks; avoid heavy scrubbing at first.
Common backsplash installation mistakes
- Tiling over greasy or glossy paint without cleaning and scuffing.
- Stacking tile off an unlevel countertop.
- Using mastic with glass, stone or large tile.
- Spreading too much adhesive and setting tile into mortar that has skinned over.
- Skipping box extenders, leaving outlets recessed and loose.
- Grouting the countertop joint instead of caulking it.
- Using sanded grout on glass or polished stone and scratching it.
Planning a backsplash installation in Orlando?
A backsplash is often part of a cosmetic kitchen refresh or a full kitchen remodel, and we also handle tile work through our flooring and tile service. If you are in Orange, Seminole, Osceola or Lake County, including Kissimmee, Prime Construction can measure and quote it. Call (407) 404-3944 or request an estimate.