
Kitchen
How to Tile Around Outlets: Backsplash Tile Guide
How to tile a backsplash around outlets: shut off power, use box extenders, mark and cut tile and mosaics, and reset outlets flush and code-safe.
By the Prime Construction team Updated October 13, 2026 6 min read
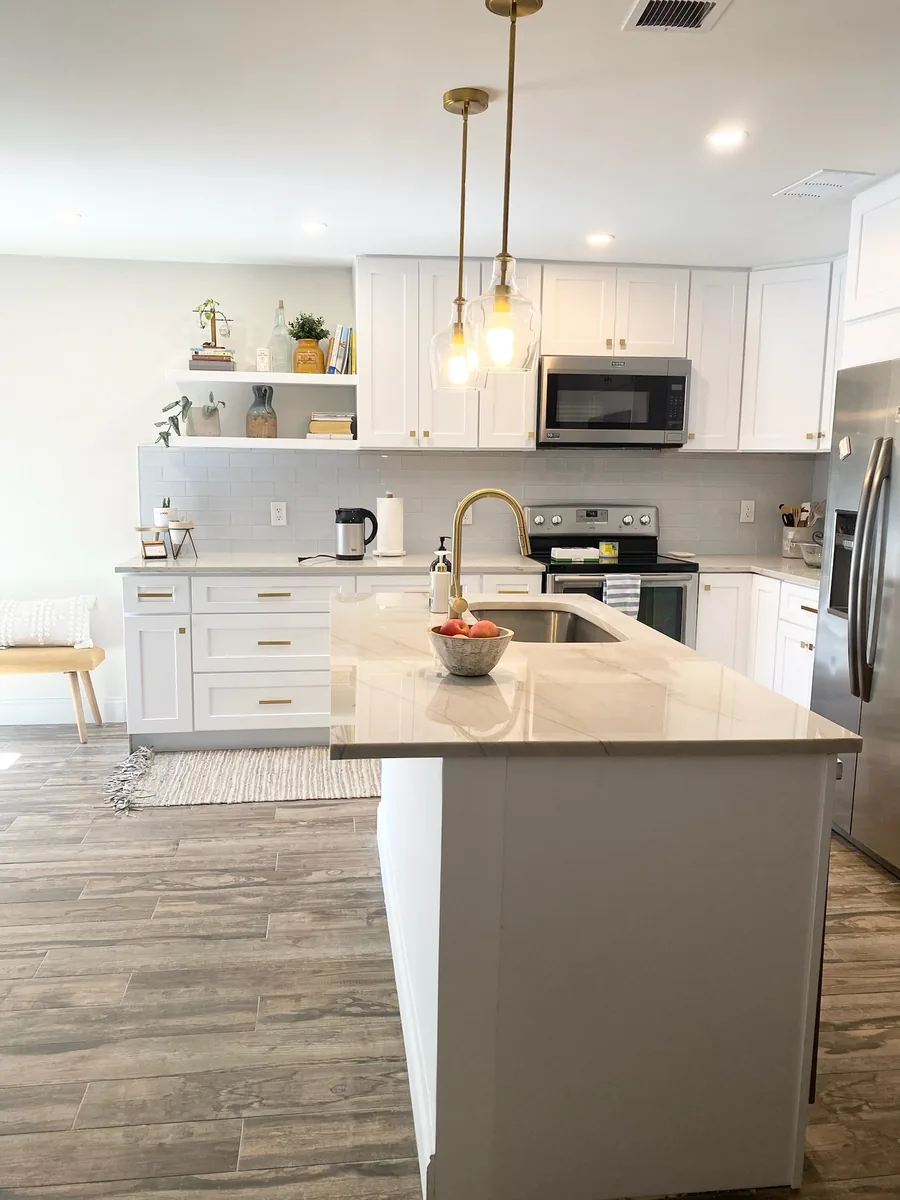
To tile a backsplash around outlets, shut off the power, remove the cover plates and loosen the outlets, tile up to the edge of each electrical box, then install box extenders so the box edge comes out flush with the new tile face and remount the outlets with longer screws. The cut in the tile only has to stay inside the edge of the cover plate, so it does not have to be perfect. The part that has to be right is the electrical side: a recessed box, a wobbly outlet or a gap around the box is a safety problem, not just a looks problem.
Safety first: power off and tested
Before you touch a cover plate:
- Turn off the breakers for every outlet, switch and under-cabinet light on the backsplash wall. Kitchen counters usually have at least two small-appliance circuits, plus separate circuits for the disposal, dishwasher and lighting.
- Test every box with a non-contact voltage tester, and test the tester on a live outlet first so you know it works.
- Remove the cover plates and unscrew the outlets from the box, but leave the wires connected. Pull the outlet gently forward and fold it out of the way, or tape it so it does not fall into the box.
- Protect the box with painter’s tape over the opening so thinset and grout do not get inside.
If you find aluminum wiring, scorched insulation, loose backstabbed wires, or no GFCI protection on the countertop outlets, stop and call a licensed electrician. Kitchen countertop receptacles are required to have GFCI protection, and a backsplash project is a good time to fix that.
Why the box has to come forward
Ceramic tile plus thinset adds roughly 3/8 to 1/2 inch to the wall, more for thick handmade tile or stone. After tiling, the electrical box ends up recessed behind the finished surface. The National Electrical Code addresses this directly:
- In walls finished with a noncombustible material such as tile, the front edge of a box can be set back no more than 1/4 inch from the finished surface.
- Gaps around the edge of a box opening larger than 1/8 inch have to be repaired.
In practice, almost every tiled backsplash needs box extenders. Inspectors look for them on remodels that have an electrical permit, and they are the difference between an outlet that feels solid and one that pushes into the wall when you plug something in.
How to extend an electrical box for tile
A box extender (also called an extension ring or box spacer) is a plastic or metal collar that slips into the existing box and brings its edge forward.
- Tile the wall first, so you know the final thickness.
- Choose an extender sized for the box (single gang, two gang and so on) and the depth you need. Adjustable extenders are the easiest.
- Feed the outlet through the extender, set the extender into the box, and mount the outlet through it into the original box screw holes with the longer screws supplied.
- Check that the extender’s front edge is flush with, or very slightly proud of, the tile face.
- Make sure the outlet’s mounting ears sit firmly against the extender or tile. If they float, add receptacle spacers (small stackable washers) behind the ears so the outlet does not flex when you plug in a cord.
Do not shim an outlet out by just backing the screws off. That leaves the outlet unsupported and the wiring exposed inside an open gap.
How to measure and mark tile for outlet cuts
The goal is a tile opening a little larger than the box but smaller than the cover plate. A standard single-gang cover plate overlaps the box opening by roughly 1/4 to 3/8 inch on each side, which gives you room for error.
- Set the tiles around the outlet first without the outlet tile, so the cut tile lines up with its neighbors.
- Hold the tile in its exact position (with spacers) over the box.
- Mark the box edges onto the tile. Some installers smear lipstick or chalk on the box rim and press the tile against it to transfer the outline.
- Mark the cut lines about 1/8 inch outside the box outline, and check that the cut still stays inside the cover plate footprint.
- Plan around the screw holes. The top and bottom of the opening must clear the box ears, and the outlet’s mounting ears must still have tile or extender to rest on.
If an outlet falls on a grout line or a tile corner, the cut is often easier: you notch two or four tiles instead of cutting a hole in one.
Best tools for cutting tile around outlets
| Cut | Tool | Notes |
|---|---|---|
| Notch on a tile edge (L or U cut) | Wet saw | Make the two straight cuts, then snap or nip out the waste |
| Hole in the middle of a tile | Angle grinder with a diamond blade, or a wet saw plunge cut | Score from the face, cut corners slightly short, clean up with nippers |
| Small trims, mosaic pieces | Tile nippers | Take small bites; large bites crack the tile |
| Glass tile | Wet saw with a glass-rated blade | Glass chips easily; go slowly. See our glass tile backsplash guide |
| Slab (quartz, porcelain panel) | Fabricator from a template | Not a field job for most homeowners |
Wear eye protection for every cut, hearing protection with a grinder, and a respirator if you dry-cut. Dry-cutting tile and stone creates silica dust, so wet cutting or a dust-collecting tool is the safer choice indoors.
How to cut mosaic tile around outlets
Mesh-backed mosaics are the most forgiving material around outlets:
- Hold the sheet in position and mark the box outline on the face.
- Cut the mesh with a utility knife to remove whole pieces inside the outline.
- Set the sheet, then cut individual partial pieces with nippers or a wet saw and back-butter them into place.
- Keep the cut edges inside the cover plate footprint.
With very small mosaics, it is often easier to set full pieces right up to the box, then trim only the few that cover it.
Outlets in a quartz or slab backsplash
Installing outlets in a quartz backsplash follows the same electrical rules, but the cutting happens in the fabrication shop. The template has to show every box location exactly, and there is no swapping one bad tile. A few options:
- Cut the openings in the slab and extend each box to the slab face. Most common.
- Move the outlets under the upper cabinets with listed under-cabinet receptacle strips. The code allows countertop receptacles up to 20 inches above the counter, so this can work, but it is electrical work and should be done by a licensed electrician under permit.
- Use pop-up countertop receptacles on islands, where allowed.
Moving or adding outlets, adding circuits, or changing GFCI protection is electrical work that needs a licensed electrician and, in most Orlando-area jurisdictions, a permit. When we handle a kitchen remodel, we plan outlet locations with the cabinets and countertop so they land in the right place before any tile or slab is cut.
Getting a clean finish around outlets
- Grout up to the box, then wipe the box edge clean before the grout sets.
- Let the grout cure before reinstalling outlets. Follow the grout maker’s directions; many cement grouts need about 24 hours before light handling and 48 to 72 hours before sealing.
- Use caulk, not grout, where tile meets the countertop and at inside corners. Those joints move.
- Match the cover plates to the tile. White plates on white tile disappear; for colored tile, plates in a matching color or a screwless plate look cleaner.
- Turn power back on and test every outlet, and press the GFCI test and reset buttons.
Making outlets blend in
Outlets placed in the middle of a feature tile are hard to hide. When you are already remodeling, ask about:
- Aligning outlet boxes with a grout line or centering them in a single tile.
- Running outlets horizontally in a band of tile.
- Under-cabinet strips to keep the tile field clear.
For the rest of the job (layout, ledger board, thinset, grout), see our backsplash installation guide.
Planning a backsplash in Orlando?
If you are in Orange, Seminole, Osceola or Lake County and want outlets planned with the tile instead of around it, Prime Construction measures in your home and coordinates the electrical work under permit. We work throughout Orlando and nearby cities. Call (407) 404-3944 or request an estimate.