
Kitchen
How to Install a Backsplash on Painted Drywall
Yes, you can tile a backsplash on painted drywall. How to test the paint, clean, scuff and patch, choose thinset or mastic, and set tile that stays put.
By the Prime Construction team Updated October 13, 2026 6 min read
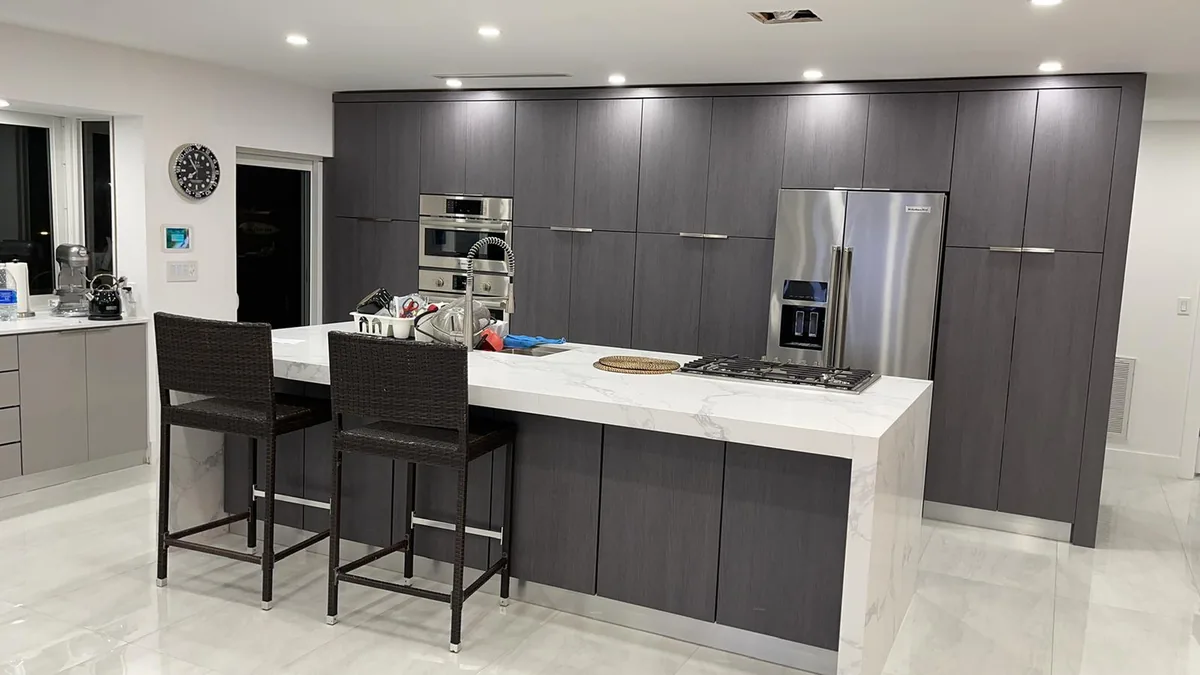
You can install a backsplash on painted drywall, and for most kitchens it is the normal approach. The paint just has to be sound: test that it is well bonded, degrease the wall, scuff glossy paint so the adhesive can grip, patch damage flat, and use an adhesive rated for your tile. The bond of the tile to the wall is only as strong as the bond of the paint to the drywall, so the work is mostly in the prep. Here is how we check and prepare a painted wall before any tile goes up.
Why painted drywall works for a backsplash
A kitchen backsplash is a dry area. It gets splashes, not standing water, so ordinary gypsum drywall is an accepted backing for ceramic, porcelain and glass tile there. You do not need to tear the wall out and install cement board unless the drywall is damaged or you are using heavy stone.
What fails is not the drywall, it is what is on it:
- Paint that is not bonded. If the paint peels, the tile comes with it.
- Grease and cooking residue behind the range and around the sink.
- Glossy paint that the adhesive cannot grip.
- Uneven walls that leave lippage (tile edges that do not line up) and hollow spots.
Step 1: Test the paint
Before cleaning or sanding, find out whether the paint itself is stuck to the wall.
- Tape test. Press a strip of strong duct tape or packing tape firmly onto the paint in a few spots, then pull it off quickly. If paint comes off on the tape, the paint has to come off before tile.
- Scratch test. Score a small crosshatch with a utility knife in an area the tile will cover and press tape over it. Flakes lifting at the cuts mean poor adhesion.
- Look for trouble. Bubbling, peeling at edges, or chalky paint that rubs off on your hand are all signs of weak paint.
If the paint fails, scrape and sand the loose paint off down to a sound surface. If the drywall face paper tears while you do that, the torn paper has to be sealed with a primer made for damaged drywall paper, or that section replaced, before tiling.
Step 2: Clean and degrease
Kitchen walls carry a film of cooking grease, especially behind the range. Tile adhesive will not bond through it.
- Wash the backsplash area with a degreasing cleaner and a sponge.
- Rinse with clean water to remove cleaner residue.
- Let the wall dry fully. In a humid Orlando kitchen with the windows open, that can take longer than you expect; run the AC.
Step 3: Scuff the paint
The goal is to remove the sheen, not the paint.
| Paint finish | What to do |
|---|---|
| Flat or matte, sound | Light scuff, wipe dust |
| Eggshell or satin | Scuff with 100 to 120 grit until dull |
| Semi-gloss or gloss | Scuff thoroughly with 100 to 120 grit; the surface should look uniformly dull |
Use a sanding sponge or pole sander, and do not sand through to the drywall paper. Vacuum and wipe the wall with a barely damp cloth afterward to remove dust, which acts like a bond breaker.
Step 4: Patch and flatten
- Remove nails, anchors and any old backsplash adhesive.
- Fill holes and dents with a setting-type joint compound, let it harden, and sand it flat.
- Deal with texture. Light orange peel can usually be tiled after knocking down the high points. Heavy knockdown texture, common in many Central Florida homes, should be sanded or skimmed flat, especially under large or glossy tile.
- Check flatness with a straightedge. Large-format tile is especially sensitive; bumps telegraph through as lippage.
- Replace damaged drywall. Water-stained, soft or crumbling sections near the sink should be cut out and replaced. If the stain came from a leak, fix the leak first.
Keep joint compound patches thin. Thick layers of compound are a weak base for tile.
Step 5: Prime only if the adhesive calls for it
This step causes confusion. Some setting materials call for a specific primer on painted walls. Others want scuffed, bare paint and say nothing about primer. A general wall primer under tile is not automatically better and can weaken the bond if it is not compatible.
Read the adhesive label and use only the primer it names.
Thinset vs. mastic on painted drywall
| Polymer-modified thinset | Premixed mastic (organic adhesive) | |
|---|---|---|
| What it is | Cement-based powder mixed with water | Ready-to-use paste |
| Bond on painted drywall | Strong when the paint is prepped | Good for small, light tile |
| Glass tile | Yes (white thinset the glass maker approves) | No |
| Natural stone | Yes (white thinset for light stone) | Generally no; can stain and is not rated for most stone |
| Large tile (over about 15 in. on a side) | Yes, with a rated mortar | No |
| Wet or hot areas | Handles moisture and heat | Can soften with sustained moisture or heat |
| Ease of use | Mix in batches, limited working time | Easiest for DIY |
Our default for backsplashes is a polymer-modified thinset. Mastic is acceptable for small ceramic or porcelain tile on a dry wall when its label allows that tile, which is why it is common on DIY backsplashes. Adhesive tile mats are another DIY option for small, light tile; check the size and weight limits on the package.
Setting the tile
- Shut off power to the backsplash outlets and remove the cover plates. Our guide to tiling around outlets covers box extenders and cuts.
- Lay out the tile from a centerline, usually the sink or range, so cut pieces at the ends are equal.
- Start level. Countertops are rarely perfectly level, so set the first row with spacers and a level, and leave about a 1/8 inch gap at the countertop for caulk. Behind a range with no counter, screw a straight ledger board to the wall to support the first row.
- Trowel and set. Spread only as much adhesive as you can tile before it skins over, comb it with the notch size the tile calls for, and press the tiles in with a slight twist. Pull a tile now and then to check coverage.
- Wait. Let thinset cure, typically about 24 hours, before grouting. Mastic and glass tile may need longer; follow the label.
Grouting, caulking and sealing
- Grout: unsanded for joints under 1/8 inch; sanded for wider joints. Work it in diagonally with a rubber float, then wipe the haze with a damp sponge.
- Caulk: use color-matched caulk, not grout, where the tile meets the countertop, at inside corners and along the cabinet edges. Those joints move.
- Seal: many cement grouts need 48 to 72 hours before sealing. Natural stone tile needs sealing too. Check the product directions.
- Outlets: reinstall with extenders after the grout has set, then restore power and test.
For the full step-by-step with tools and layout details, see our backsplash installation guide.
When to call a pro
Prep is where DIY backsplashes fail. Consider a contractor if the paint fails the tape test across the wall, the drywall is water damaged, you are tiling heavy stone or large-format tile, or outlets need to be moved. A backsplash is often part of a larger kitchen remodel, and doing it with new countertops avoids tiling twice.
Planning a backsplash in Orlando?
If you are in Orange, Seminole, Osceola or Lake County and want someone to check the wall before you buy tile, Prime Construction measures in your home and quotes the prep and tile together. We work throughout the area, including Lake Mary and Orlando. Call (407) 404-3944 or request an estimate.