
Kitchen
How to Add or Remodel a Kitchen Backsplash
How to add a backsplash to your kitchen or redo an old one: where it goes, tile vs slab vs peel-and-stick, removing old tile, steps, timing and cost.
By the Prime Construction team Updated October 13, 2026 5 min read
To add a backsplash to your kitchen, measure the wall between the countertop and the upper cabinets, choose a material (tile, a slab, or a quick peel-and-stick product), prepare the wall, then set, grout and caulk the tile. If you are redoing an old backsplash, plan on removing it and repairing the drywall first. This guide covers the decisions that come before installation: where the backsplash goes, which type fits your kitchen and budget, how to remove an old one, and when to do it yourself. For the full tile-setting method, see our step-by-step backsplash installation guide.
Where to put a backsplash in a kitchen
Standard coverage:
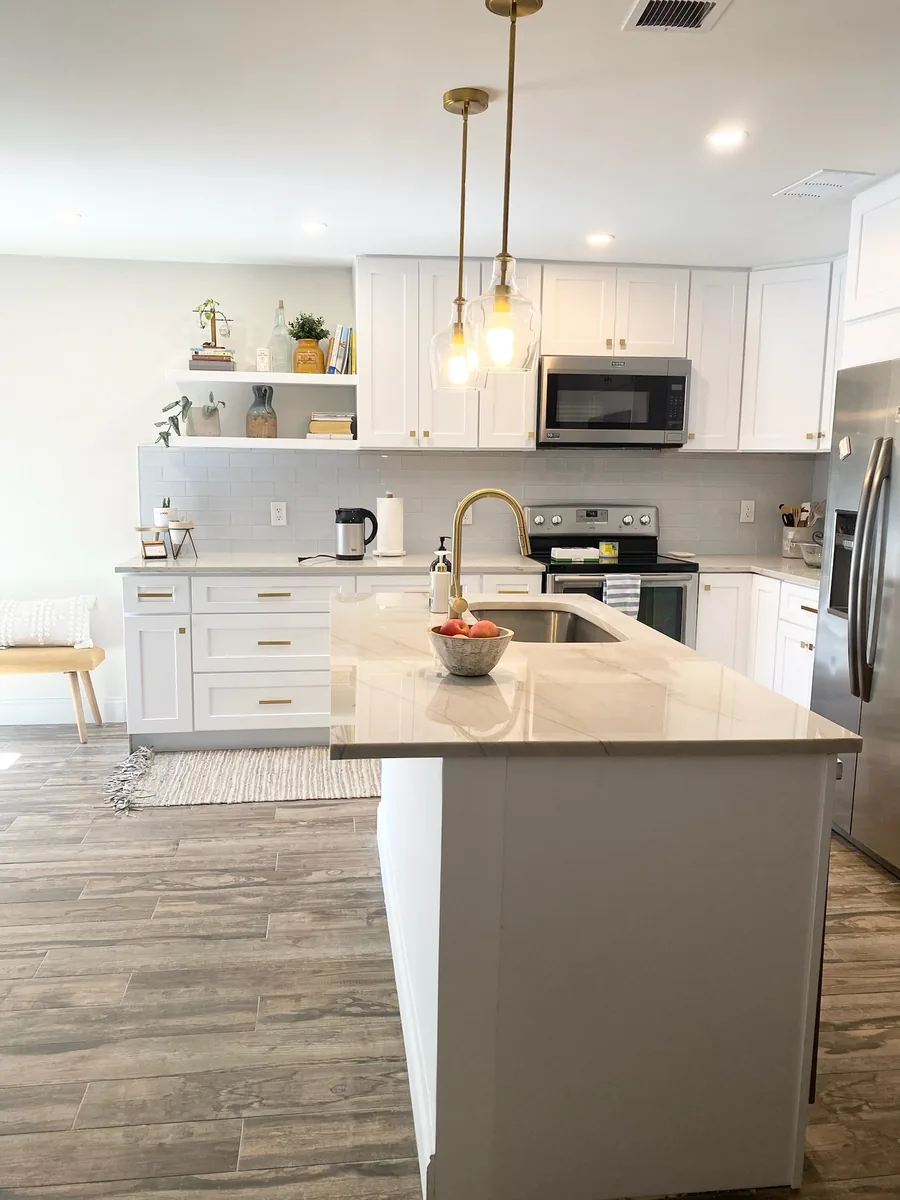
- Every wall with a countertop, from the countertop up to the underside of the upper cabinets (usually about 18 inches).
- Behind the range, up to the hood or a little above it. A taller panel behind the range is a common feature spot.
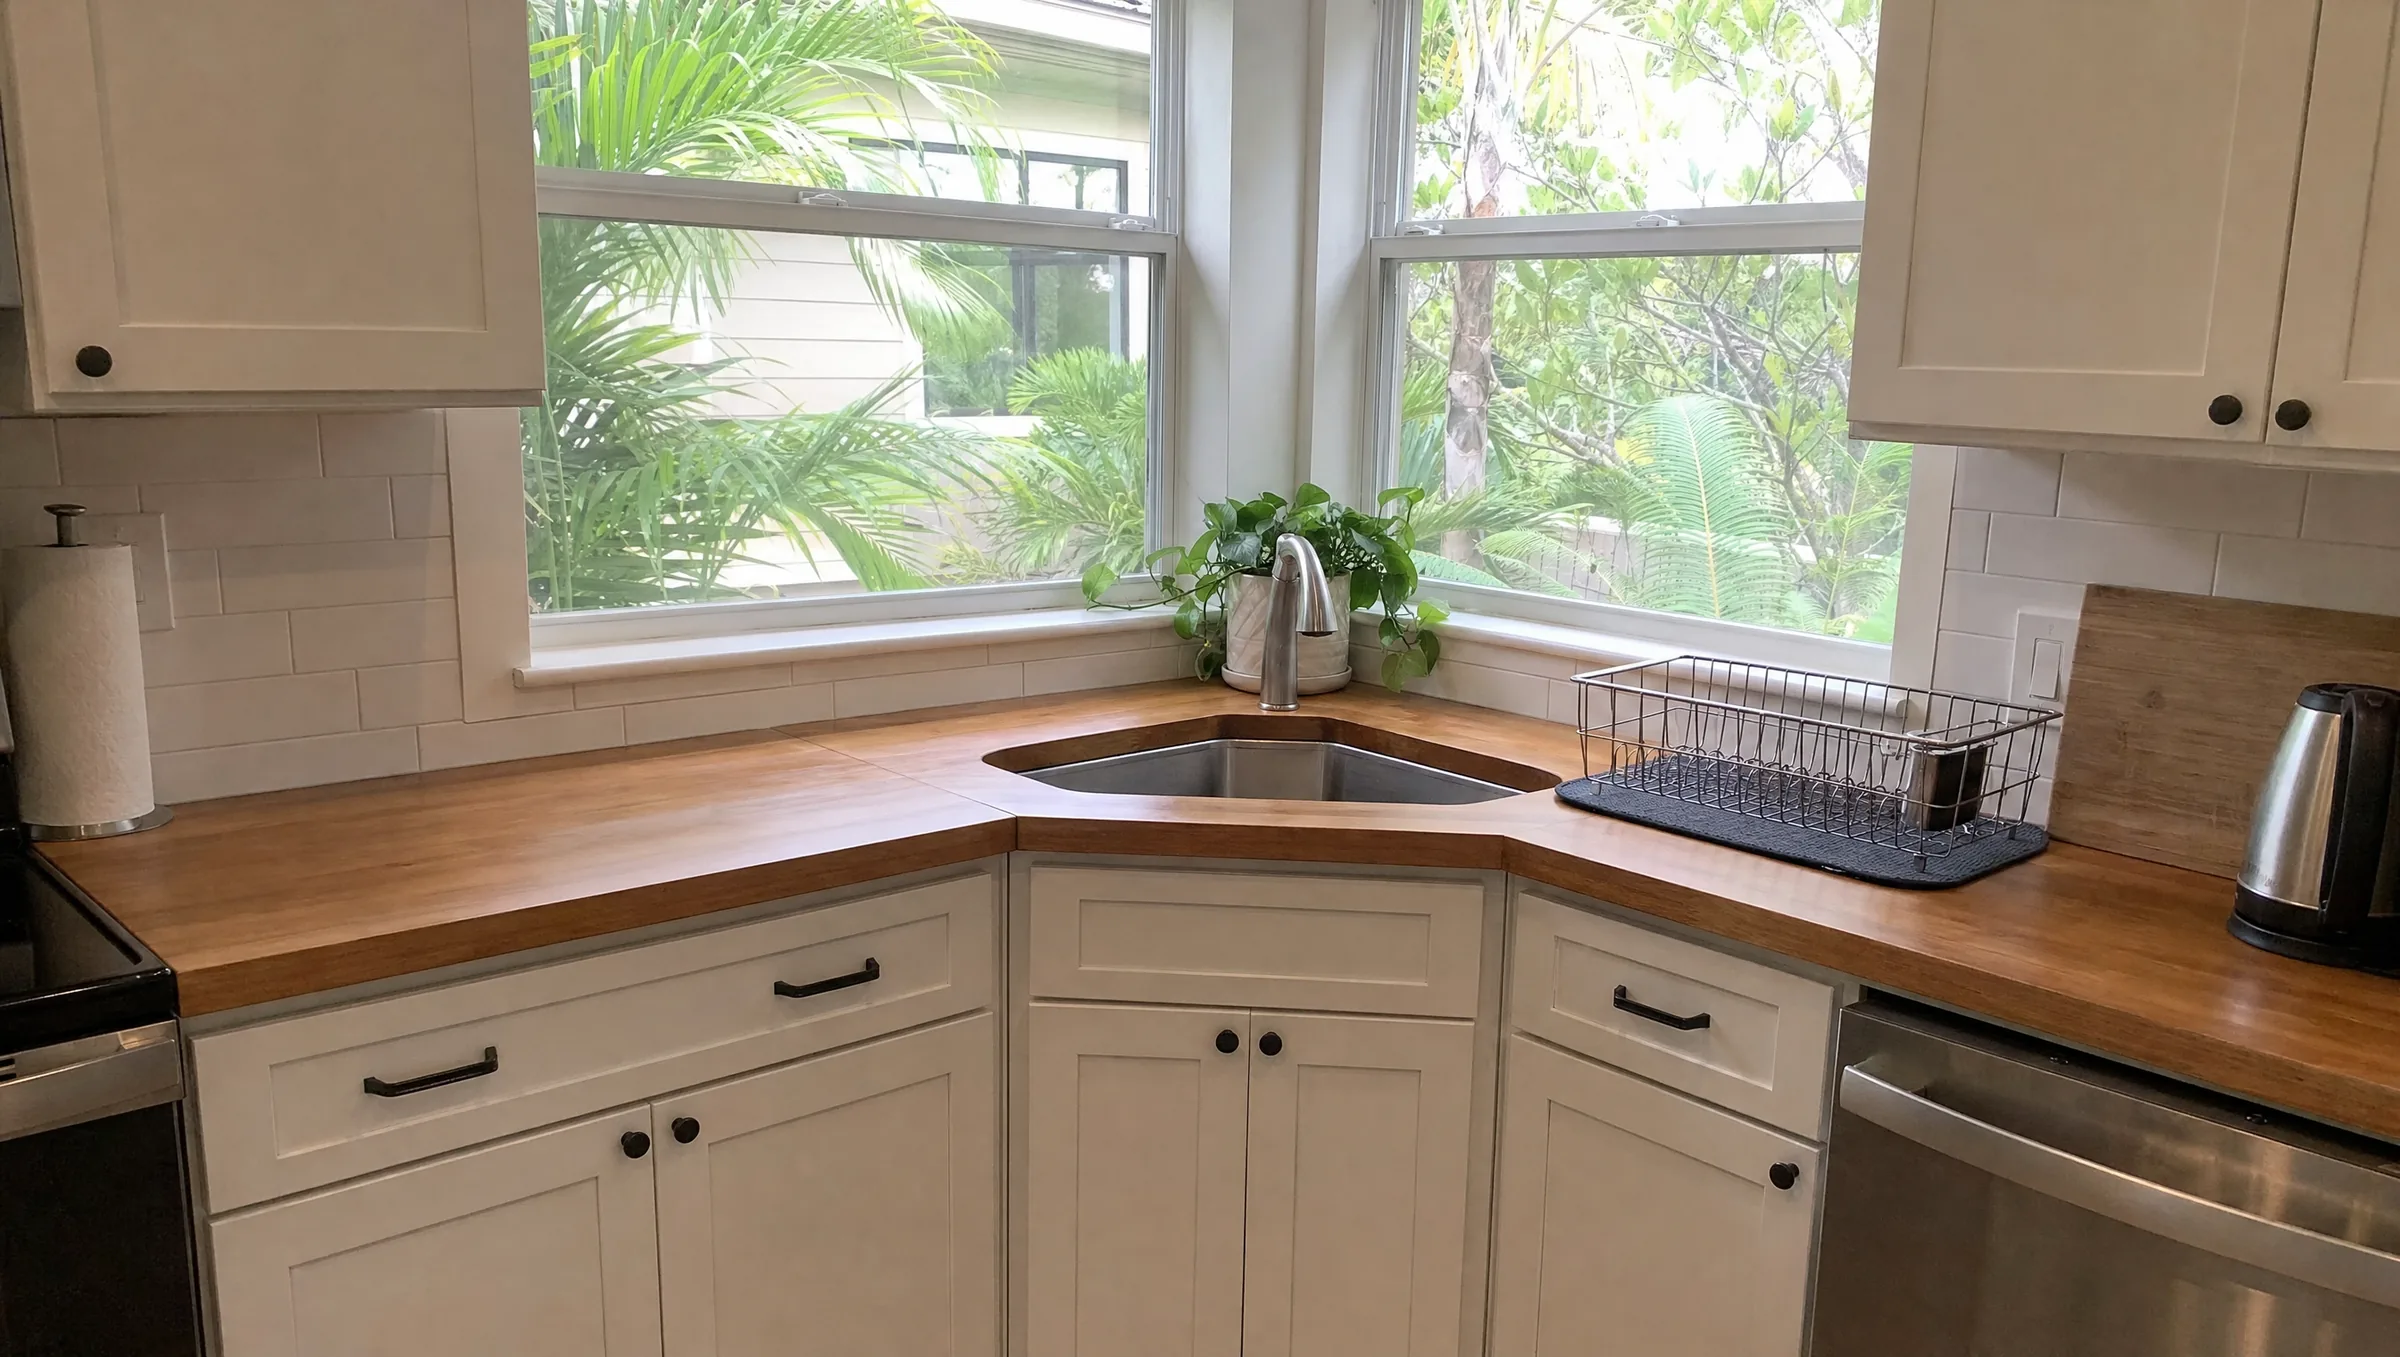
- Around windows over the sink, stopping at the window trim or wrapping into the window return.
Where it ends:
- At the end of a counter run, stop the tile where the upper cabinet ends, or at the countertop end, so the edge lines up with something. A finished edge piece or trim strip gives a clean end.
- On walls with no upper cabinets, stop at a clean line: the window head, a shelf, or the ceiling. A full-height backsplash on an open wall is one of the strongest current looks.
- At inside corners, the tile meets with a caulk joint, not grout.
A common mistake when people add a backsplash to a kitchen is stopping the tile at a random height on an open wall, which leaves an awkward strip of paint.
Choose the type of backsplash
| Type | Look | Typical installed cost (Orlando, 2026) | Good for |
|---|---|---|---|
| Ceramic or porcelain tile | Subway, square, hex, patterned | Low end of $20 to $60 per sq ft | Most kitchens; best value |
| Glass tile | Reflective, color-rich | High end of that range | Modern, coastal |
| Natural stone tile | Marble, travertine, slate | High end of that range; needs sealing | Traditional, high-end |
| Slab (quartz or stone) | Seamless, no grout | Priced like countertops (quartz about $60 to $120 per sq ft) | Behind the range, full-height walls |
| 4 inch slab splash | Short strip of countertop material | Usually included with or added to the countertop job | Budget kitchens, paired with paint |
| Peel-and-stick | Printed vinyl or thin composite | Lowest | Rentals, short-term updates |
For design direction, see our roundup of 2026 backsplash trends.
If you are replacing an old backsplash
Most backsplash remodels start with removal. What to expect:
- Shut off power to the backsplash outlets and remove the cover plates.
- Protect the countertop with cardboard or a moving blanket and tape. Falling tile chips stone and quartz.
- Score the caulk along the countertop and cabinets with a utility knife.
- Pry tile off with a stiff putty knife or a flat bar and a hammer, working from an edge.
- Assess the drywall. Removing tile usually tears the drywall face. Small torn areas can be sealed and skimmed; large damaged areas are faster to cut out and replace with new drywall.
Tiling over old tile is sometimes possible if the old tile is flat, sound and degreased, but it adds thickness that complicates outlets, window trim and the edges where the tile ends. Removing it is usually the better job.
Replacing a 4 inch stone splash with full tile means removing the strip carefully so the countertop is not damaged, then patching the wall behind it.
How to add a backsplash: the steps
- Measure. Multiply width by height for each wall section, subtract large openings like windows, and add about 10 percent for cuts (15 to 20 percent for herringbone or patterns).
- Prepare the wall. Clean and degrease, scuff glossy paint, patch holes, and make sure the wall is flat. Painted drywall is a fine backing for a backsplash; our painted drywall guide explains how to test it.
- Plan the layout from a centerline at the sink or range so end cuts match.
- Set the tile with the adhesive rated for your tile. Polymer-modified thinset is our default; premixed mastic is acceptable only for small ceramic or porcelain tile on a dry wall when the label allows it. Glass needs a white thinset approved for glass.
- Cut around outlets and install box extenders so the outlets end up flush with the new tile.
- Grout after the adhesive cures (often about 24 hours), using unsanded grout for joints under 1/8 inch and sanded for wider joints.
- Caulk the countertop joint and inside corners with color-matched caulk.
- Seal cement grout after it cures, usually 48 to 72 hours, and seal natural stone.
Easy backsplash options for kitchens
If you want the easiest backsplash for a kitchen DIY project:
- Mesh-backed mosaic or subway sheets go up faster than single tiles.
- Large porcelain tile means fewer joints, though it needs a very flat wall.
- Adhesive tile mats replace thinset for small, light tile on a flat wall; check the size and weight limits.
- Peel-and-stick is the fastest, but keep it away from the range and expect a shorter life.
- A short slab splash done by the countertop fabricator, with painted wall above, involves no tiling at all.
When to add a backsplash during a remodel
The backsplash goes in near the end:
- Cabinets are installed.
- Countertops are templated and installed.
- Electrical (outlets, under-cabinet lighting) is roughed in and inspected if the work needed a permit.
- Backsplash tile goes on.
- Outlets, cover plates and lights are finished; the wall is painted.
Choose the backsplash tile at the same time as the countertop, even though it goes in later. The two have to work together.
DIY or hire a pro?
A straight-lay ceramic subway backsplash on a flat, sound wall is one of the more manageable DIY tile jobs. Consider a pro when:
- The old backsplash has to come off and the drywall needs repair.
- You are using glass, natural stone, large-format tile or a slab.
- Outlets need to move or new circuits are needed. That is electrical work for a licensed electrician, and it usually needs a permit.
- The backsplash is part of a larger update. Pairing it with new tops through our countertop service avoids tiling twice.
What adding a backsplash costs in Orlando
Typical Orlando-area planning ranges for 2026, installed: about $20 to $60 per square foot for tile, and about $1,000 to $3,000 total for most kitchens. Slab backsplashes cost more because they are priced like countertop material. What moves the number: removing old tile, drywall repair, the number of outlets and windows, and complex patterns. A backsplash on its own is a common part of a cosmetic kitchen refresh; for whole-kitchen pricing, see our kitchen remodeling page.
Planning a backsplash in Orlando?
If you are in Orange, Seminole, Osceola or Lake County and want a backsplash added or replaced without damaging your countertops, Prime Construction measures in your home and quotes removal, wall repair and tile together. We work across the area, including Winter Garden. Call (407) 404-3944 or request an estimate.